
It is sufficed to say that above ground plunge pools are the latest lifestyle trend to cement their place in the region; and this, is judging by their frequent occurrence in most resorts, getaway destinations and residential homesteads of numerous notable and exclusive establishments. What started out as a rather informal outdoor bathtub or hot tub is quietly becoming a household name. And what makes them all the more popular, is the simple manner in which they are constructed, plus the minimal (if any) maintenance required.
However, even though they are much less complicated to construct than regular swimming pools, proper planning and execution should not be ignored, nor shortcuts entertained. Today, we’ll delve into the various steps you must take, when constructing above ground plunge pools that are sure to stand the test of time.
Step #1 Plunge Pool Foundation
The Foundation of above ground plunge pools is not a matter to be taken lightly. Water has significant weight and the bigger the plunge pool, the more the capacity of water it can hold. At the same time, every type of soil has a different carrying capacity with predominantly rocky areas fairing better than sandy areas. Bearing all this in mind, the foundation of the plunge pool needs to consider the type of soil in the area, the capacity of the plunge pool and the maximum number of expected occupants. With these figures in hand, you will be best placed to determine how much backfilling is required, for instance, or the formwork and concrete mix ratio needed for the slab. Once done and with the foundation slab set, you can comfortably proceed to the next step.
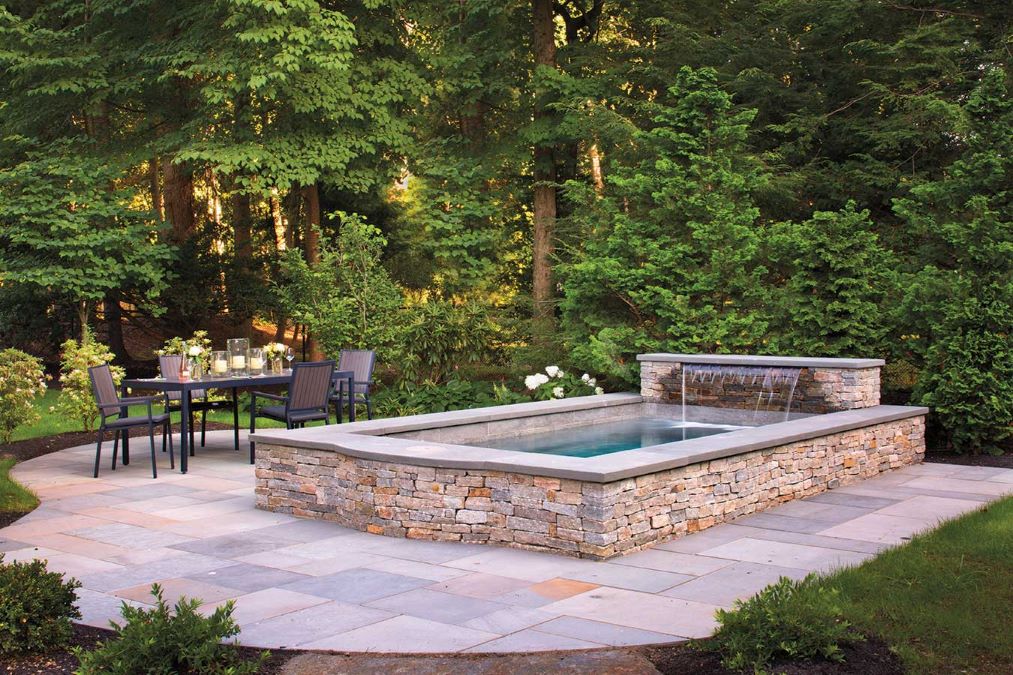
Step #2 Plunge Pool Walling
The Walling of above ground plunge pools can be realised through a myriad of ways, with the most commonly used options being concrete and/or masonry walling. Some other options to consider include steel sheeting, rubber tubing, plastic tanks and clay with straw mortar, all which are then reinforced with a concrete or plaster layer, before proceeding to the next level. As you can imagine, the size of the plunge pool will definitely determine the best walling to be used.
Step #3 Plunge Pool Electricals and Plumbing
Before any finishes or accessories can be fitted on the plunge pool, Electrical and Plumbing lines and points need to be laid in place. This occurs immediately after the walling is up and just before proper curing has taken place. With the lines in place, the necessary tests can be done and all issues rectified. It is at this point that provisions are made into the walling, for accessories that will be fitted afterwards. Once set, any and all holes and channels are sealed, the walling plastered and proper curing allowed to take place. You are thereafter free to proceed to the next step.
Step #4 Plunge Pool Waterproofing
Waterproofing of plunge pools, whether above ground or in-ground, is of absolute importance in order to guarantee their functionality. With different waterproofing solutions available in the market to choose from, our preference lies with chemical solutions. This is because they are able to penetrate the core of the walling and form an impenetrable membrane that then seals all the permeable pores. This prevents any water from within the plunge pool from sipping out, as well as stopping water from outside from passing through the membrane. Also, when applied as directed, these chemical solutions give you a lifetime of service, as opposed to the hustle associated with regular maintenance and application.
Step #5 Plunge Pool Cladding
Last but definitely not least, comes the plunge pool Cladding that will determine its final or overall look. Here, various finishes ranging from tiles and screed to pool plaster are available, and the finish that is selected is dependent on the aesthetic appeal you are leaning towards. Tiles, for instance, come in very many shapes, sizes, colours and looks and thus allow for more personalisation and flexibility. Screed can be tinted to various hues with different shapes and patterns drawn on the plunge pool surfaces, while pool plaster comes in a limited colour palette but doubles up as a waterproofing solution.
With these steps done, the fittings and accessories can be installed, the plunge pool filled up and you are now free to test the waters. I hope these steps assist you in your plunge pool construction project, and as always, should you need any clarification, feel free to reach out.
Till next time…Baraka Tele